Main Flyout Menus:
- A complete set of enhanced flyout menus have been provided for every function in the GEOMETRY and NOTATION sections of the main menus - as well as for many of the application-specific tools. These menus are displayed by right-clicking on any of the main menu buttons. Taking the time to learn to use these menus can result in a significant increase in drawing efficiency. They are particularly useful when working on a certain drawing task and there is a need to perform a single operation of a different type.
- Assume that walls are being drawn and the WALLS overwrite sub-menu is currently displayed. It is now desired to add a single dimension line and then continue working with walls. The typical sequence would be to load the DIMENSION sub-menu, select the proper dimensioning tool, perform the dimensioning task, and then reloading the WALLS sub-menu. Instead, a much quicker way to accomplish this would be to simply right-click on the DIMENSION button and select the desired tool from the flyout menu. When the dimensioning task was completed the WALLS sub-menu would still be displayed and work could immediately continue.
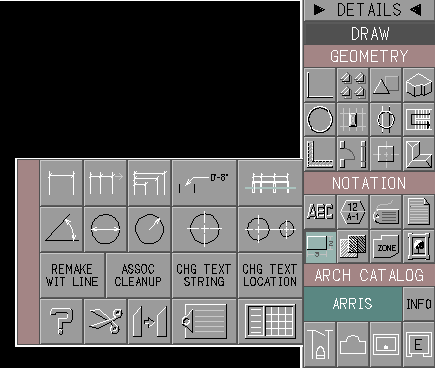
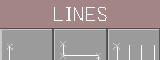
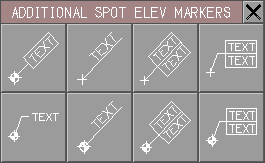
Example Main Flyout Menu
Special Features:
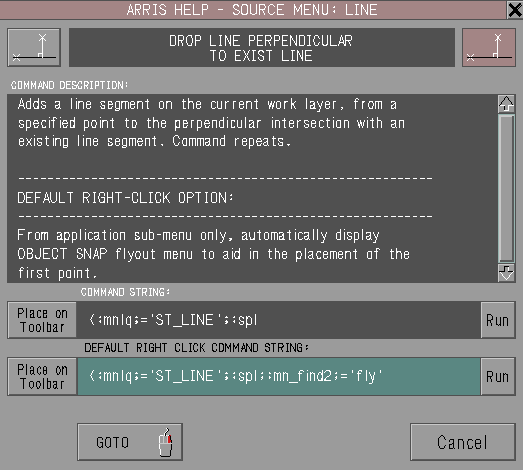
Example:
Snap Flyout Menus:
- When right-clicking on certain drawing function on the application overwrite menus, sometimes a snap flyout menu (as seen above) was presented to aid in locating the first construction point. Unfortunately, in ARRIS the availability of this feature is sporadic and unreliable. In ARRIS++ this problem has been addressed by insuring that a right-click, snap flyout menu is presented for every applicable drawing command (i.e., any drawing command that immediately prompts for a construction point). Learning to rely on these snap menus can save keystrokes while performing drawing tasks.
- Assume it was desired to place a RI at the projected
intersection of two lines. From the
REPEATED ITEMS overwrite
menu, simply right-click on the PLACE SINGLE box
and then choose the correct snap command.

- Working on the sheet layer, it becomes necessary to draw a circle with the centerpoint located at a point only visible within a viewport. Since viewport points cannot be located with the normal <F1> or <F3> methods, the easiest way to accomplish this task is to right-click on the circle button and select the SNAP TO POINT IN VIEWPORT tool.
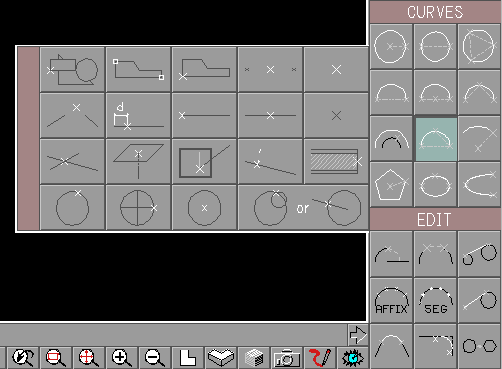
Example Snap Flyout Menu